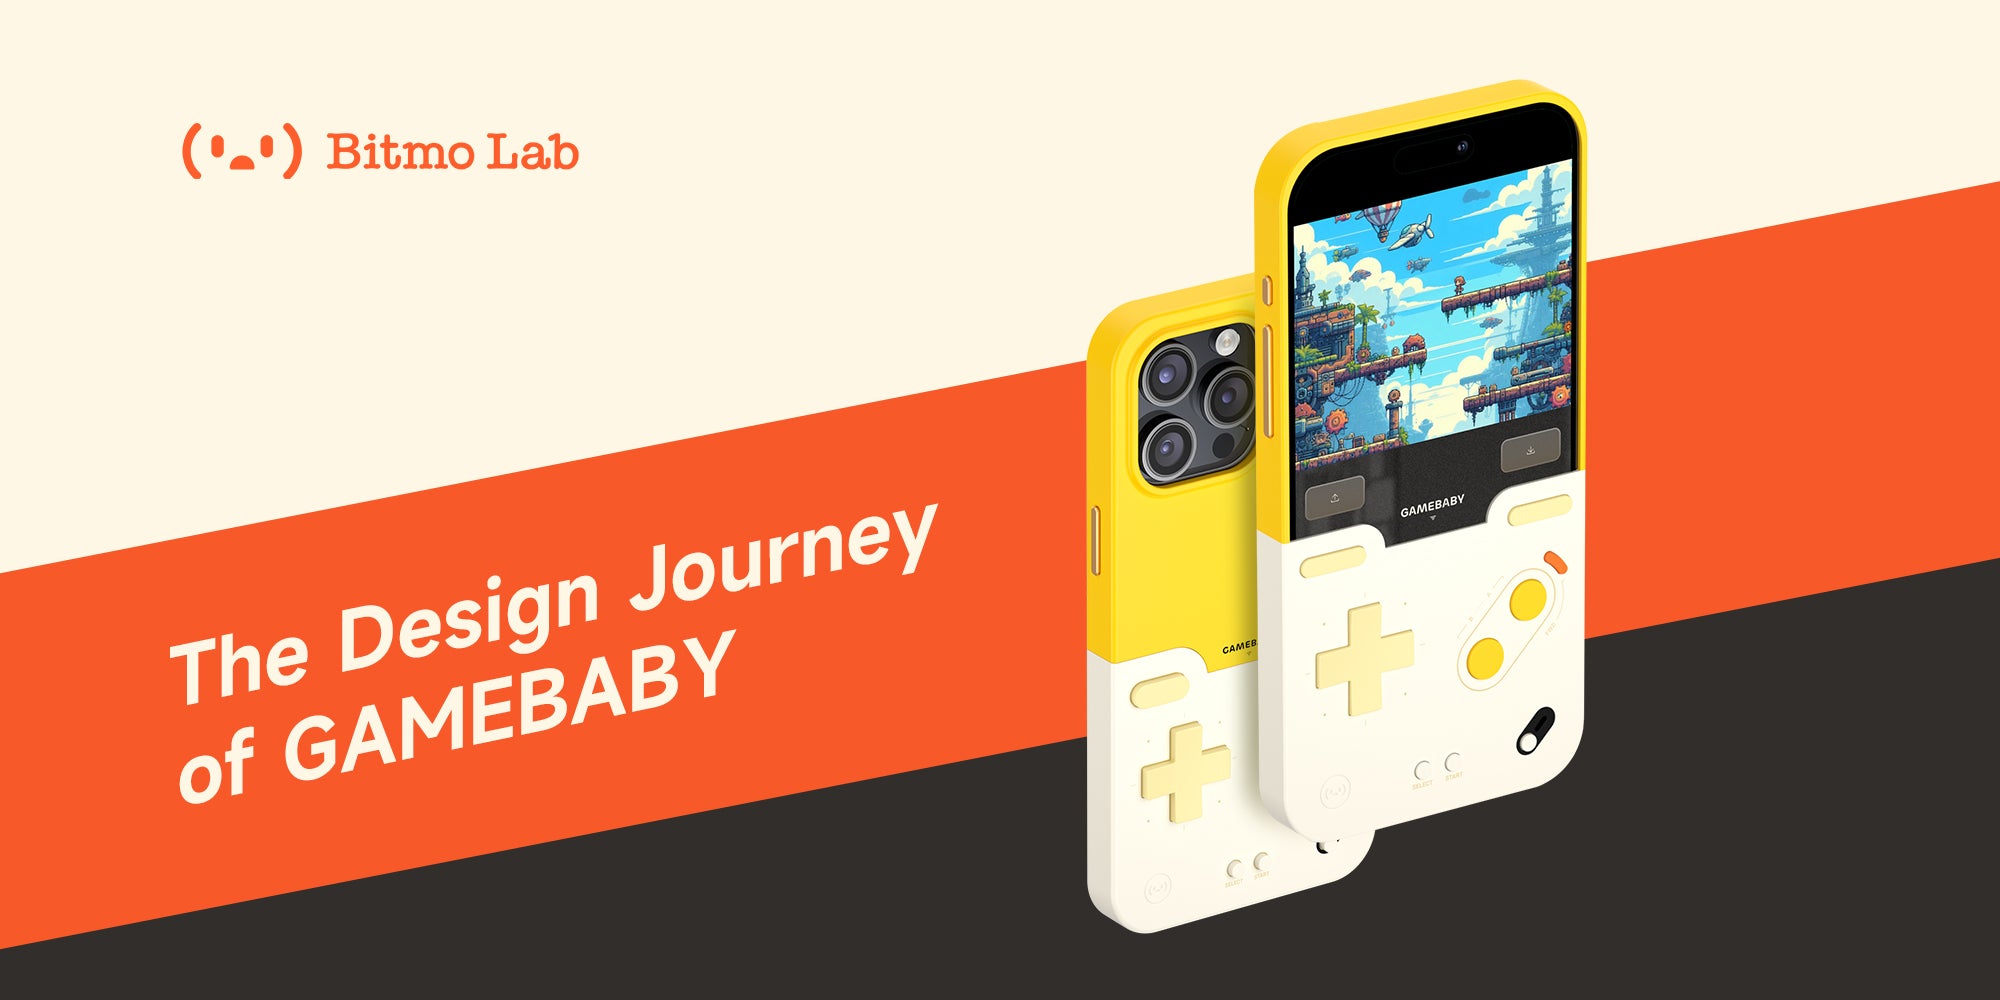
Behind the Scenes: Crafting the GAMEBABY for Gamers
Hello everyone,
We're excited to share that we started working on the GAMEBABY molds in September, with plans to complete the T0 product preparations by October 26th. If everything goes according to plan, we expect to have the pre-production sample ready by early November. Following this, we aim to start mass production in mid-November. Rest assured, we'll keep you updated on any developments during this period.
In addition to this timeline, we wanted to give you a glimpse into the challenges our behind-the-scenes team faced while designing the product’s buttons. Creating the perfect GAMEBABY buttons, which merge functionality with aesthetics, was no easy feat. Our design team explored a variety of options, such as spray-painted conductive paint, a metal cap layered over conductive glue, and even a full-conductive glue design.
The Design Journey
Our initial idea involved using a conductive glue topped with a metal cap. However, we quickly ran into a few problems. The color options for the metal were quite limited, and post-processing didn’t provide the desired visual impact or color consistency. Moreover, since the buttons would frequently come into contact with phone screens during gaming, we realized there was a risk of the metal caps scratching the screens. For these reasons, we decided to move on from this concept.

Next, we explored an all-conductive glue design, similar to what’s used in many common products like TV remote controls. While this option seemed promising at first, repetitive testing by our engineers revealed that it led to accidental touches, which severely impacted the user experience. We knew this wasn't the solution we were looking for either.
The Breakthrough
After a series of brainstorming sessions, our team finally hit upon the right approach: a combination of conductive glue and standard silicone. In this design, the buttons are made from conductive glue to ensure smooth interaction with the screen, while the button frame is made from standard silicone to prevent unintended presses. This not only created a visually cohesive look but also delivered the functionality we were after.
Once we settled on this design, another challenge arose. The conductive glue button modules were small and needed to align perfectly with the corresponding screen positions while remaining securely fastened. It was a tricky puzzle to solve! Fortunately, our engineers came up with a smart solution: designing separate button modules and using an integrated molding process to create a secure button frame. By using injection molding, we ensured that the buttons were seamlessly blended with their frame while staying firmly in place.

*Conductive Glue Button Sample (Note: Button color is not final)
Moving Forward
This journey taught us a lot, and the final design of the GAMEBABY buttons is a testament to the innovative thinking and determination of our team. We’re proud to have overcome these challenges, and we can’t wait to share more behind-the-scenes stories with you as we continue developing GAMEBABY.
Stay tuned for more updates!
Best regards,
Bitmo Lab Team


